Few words about photographing badgers
You have just reached our first article about photographing badgers. It will be gradually build upon and edited along with growing field experience.. So let’s get to reading!
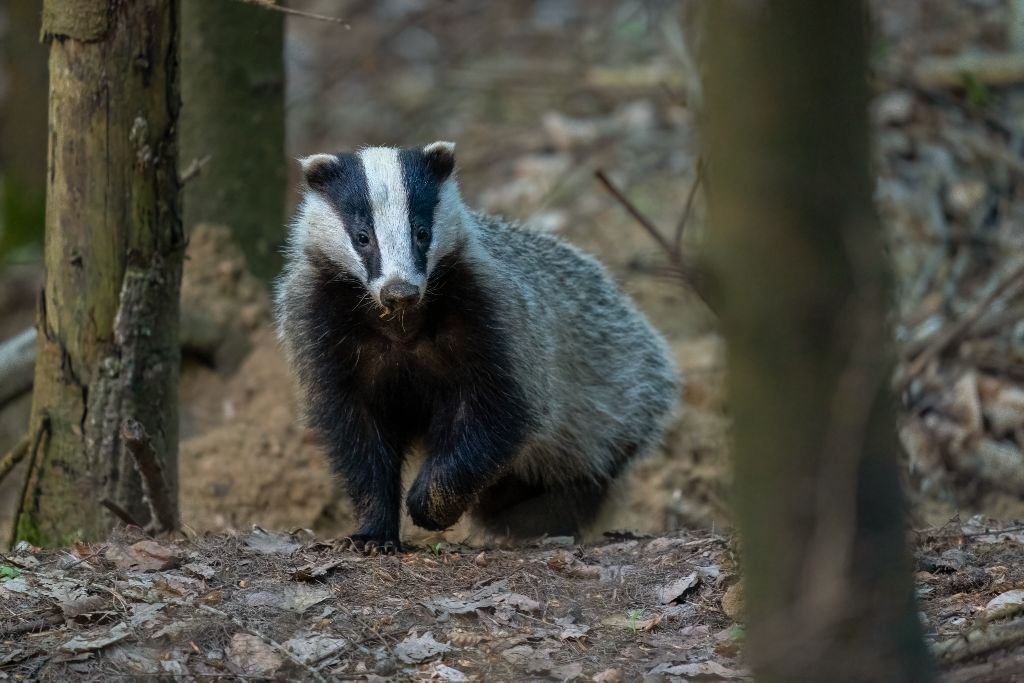
Badgers are undoubtedly a much loved mammals and they seem to be everywhere. A friend of ours meets them regularly, even in the center of Gdynia. They show up at night and compete with cats for can food placed in front of blocks. This just shows how well they’ve adapted to city life and how opportunistic they are. Locating them in their more natural setting though is definitely the biggest hurdle. Especially if you plan to photograph them.
To take a picture of a badger … you need to find it first. The approach is troublesome, after all, they are nocturnal animals, and leading a rather secretive lifestyle. We managed to do it completely by an accident, when we spotted a young badger right next to a forest path we walked. Taking from there we started slow and careful observations of these elusive mammals. Apart from having pure luck, task is not so simple, because you need to know the potential area well and look for places badgers prefer for their habitat.
Setting up for success
- Signs and spotting tricks:
The best starting point for photos is definitely the location of the burrow. Badgers eagerly build them on slopes hidden in the woodland but close enough to meadows or fields where they like to feed. They form complex labyrinths of underground tunnels and chambers with several entrances, known as sett. The area in front of it is usually cleared from any debris or leaves, and the entrance itself is usually a sandy heap. Checking for piles of fresh spoil outside, well-worn paths and a latrine pit full of droppings will give you a hint, this sett is active. Additionally, badgers’ prints are fairly distinctive having kidney-shaped pads, five upward-pointing toes and long claws. This will come as final confirmation you’re in the right place. Good news is because of the immense amount of work required to dig out a sett, badgers tend to use it for several years in a row, maintain and improve it, finally passing it to next generations. Once you see it, it won’t be mistaken for any other. Having this checked off from your list, you can start getting ready for taking pictures.
- Good timing
Badgers usually become active before sunset. As with any wildlife though there is no fixed rule when they come out, so get ready they may show up 2 hours before the dusk, but it can also be a quarter of an hour or not at all. Choosing that timeframe though, gives you highest chance of spotting them.
- Location
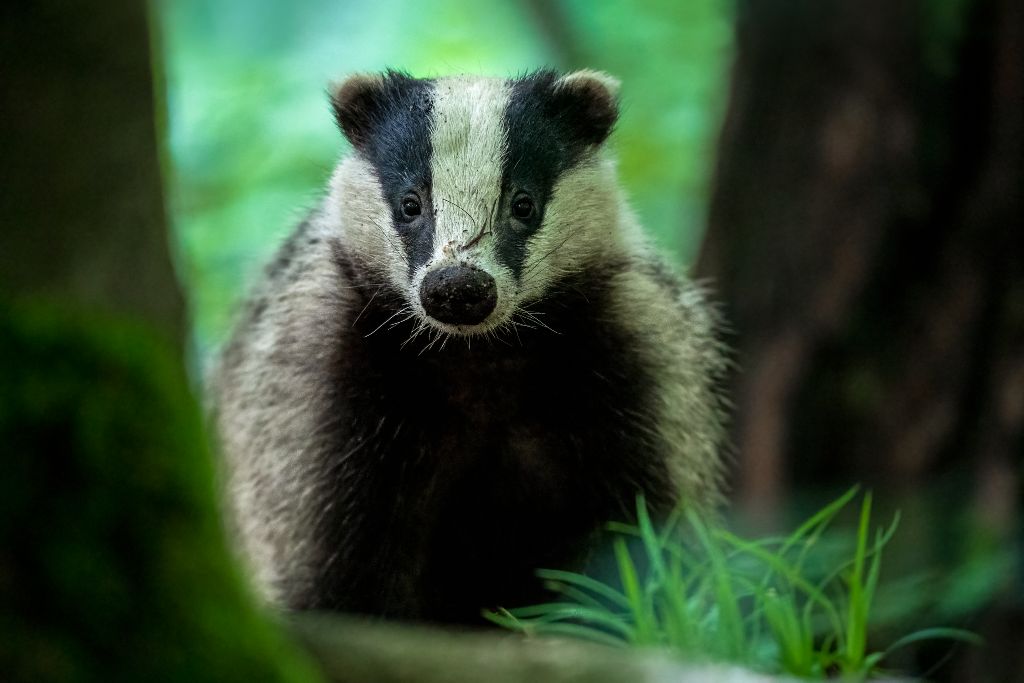
To take a shot, remember you need to sit far enough to avoid any disturbance. Consider yourself part of the environment and blend in as much as possible. Best wildlife shots come from being a silent observer. Only then you can take intimate pictures of badgers going about their business. On the practical side of things, good positioning in relation to the wind’s direction (downwind if possible) is essential. Sit quietly at least 10/15m away from the sett and with your back to a tree or hedge, to avoid the badgers seeing you outlined against the sky. The first thing a badger does before going out is twirling its nose to test the air. Any foreign smell can scare him away. Their sense of smell plays a vital role in badgers communication so do not exaggerate with shower, don’t use any perfume or repellent.
- Behaviour patterns
It is not known how much time badgers will spend in front of their sett after they get out of it. It happened they went hunting after two or three minutes and stayed out of sight for long. On other occasions playful cubs spread around the area, and chased one another, still sticking to the ‘sett zone’.
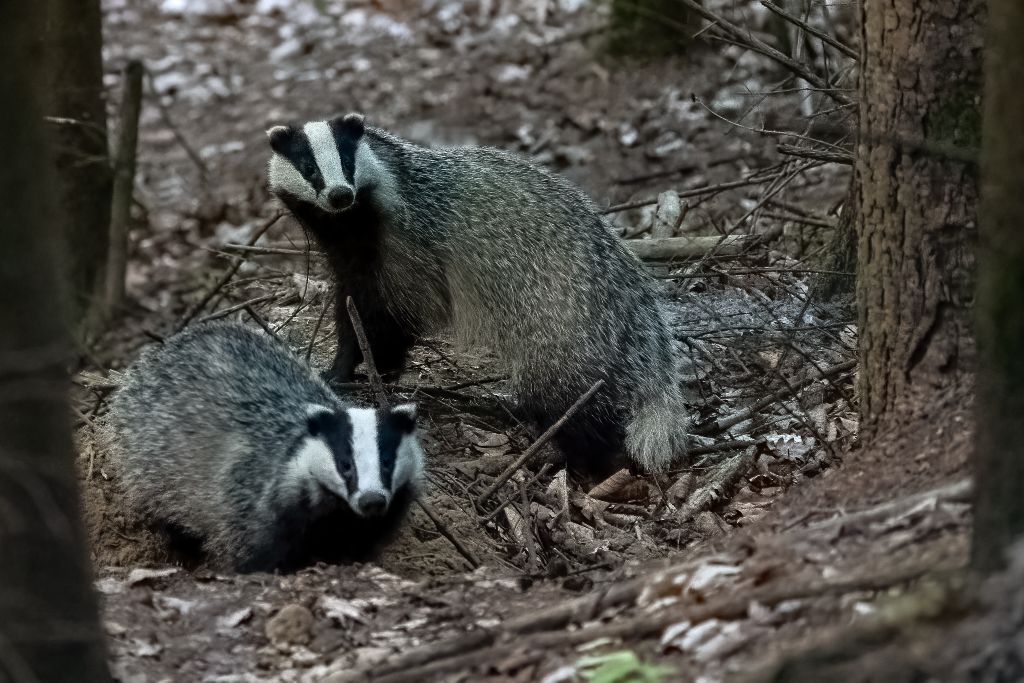
In general, once badgers’ family grows, this is an exciting opportunity to observe some of their social behaviours in the clan. This is also when they stick to the sett the longest, presenting some interesting frames for photography. Months of May up to July are best suited. We had the pleasure of observing cubs’ first foray above ground. At this point, it was essential to keep an eye on the entrance because they remain in it, or nearby, as well as stay extremely close to their mother. At any sign of danger, she herds them below ground and even drag a cub to safety by the scruff of its neck. Later on, sow (a female badger) became less vary and we watched couple of youngs running around sett, cuddling, wrestling and acting completely oblivious. Despite appearances, tracking a foraging badger is not so challenging. When we started our adventure with photography, it was a shock to us how loud it is in the forest. When you become quiet suddenly your senses sharpen and you start distinguishing every different sound made around. The rustle of a mouse, barking of roe dear, blackbirds poking in the leaves or squeaking squirrel. In that chaos of natural sounds locating a preying badger by hearing is not impossible. Because they are quite bulky, they move through the undergrowth with a significant noise. Since usual diet consists mainly of earthworms, you can bet your badger will be skimming through the grass in search of them, only getting his head up when getting to a more open space. Following a parallel trail and choosing a crossing point in the distance may position you well for a natural shot in a more favorable lighting conditions, than next to their sett.
- Safety first!
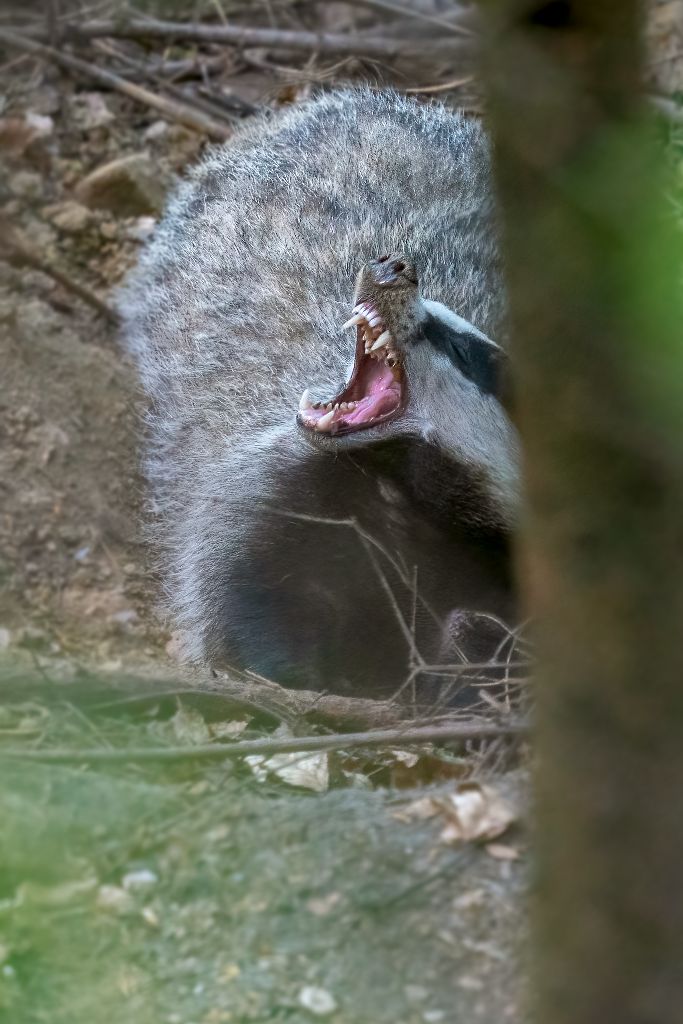
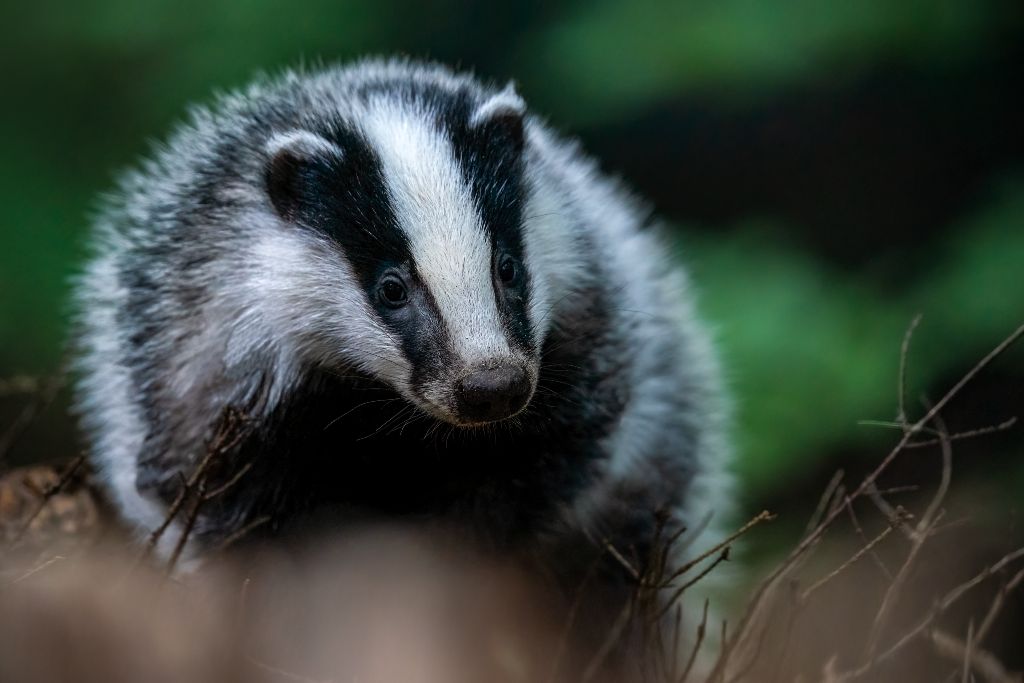
Amidst the excitement and adrenaline rush it’s easy to forget badger is a well-equipped predator. Despite his inconspicuous look, he is devilishly fast and known to get into quite a temper if approached! Be careful! It usually runs away or hides but close encounters are not advised or else it won’t hesitate to attack. Take a look at these sharp teeth… You gain respect right away!
- Outfit and etiquette
To remain in hiding it’s best to wear comfy clothes preferably with camouflage, or at least in earthy tones, to allow you to disappear into the natural setting. Cover your hands and head leaving as little skin as possible. Not only will this make you fade into woodland scape, but will also protect against notorious insects. The key to keeping still is to get comfortable – so remember to bring a cushion!
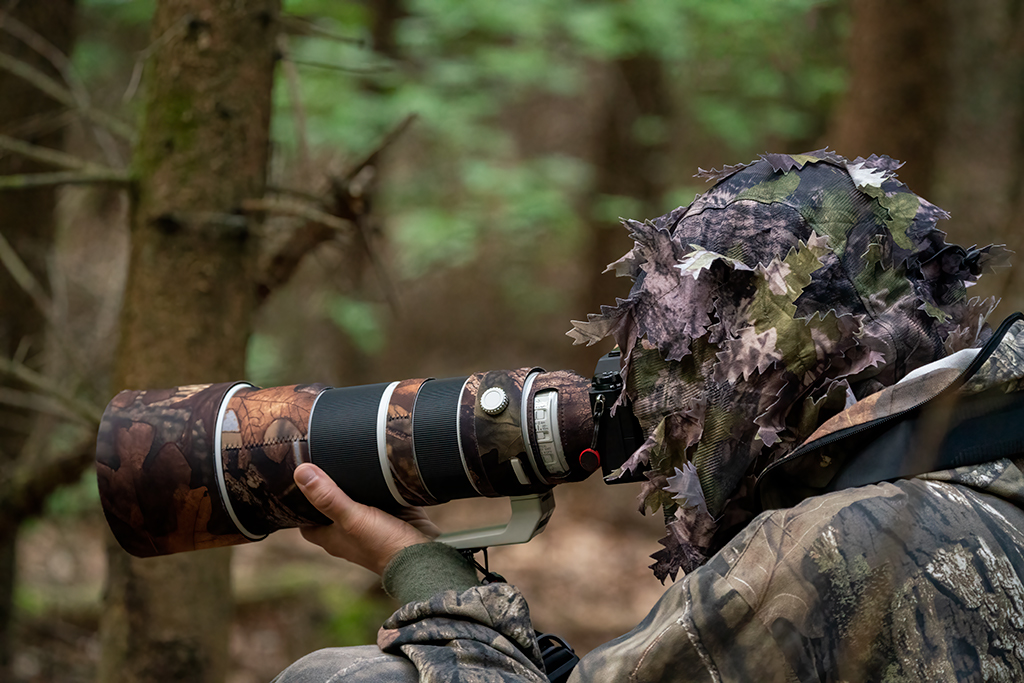
Ensure you have an easy way back, for when you’ve finished watching badgers. Prepare your route back by removing some of the noisy twigs and other obstacles. If the badgers went further out or disappeared underground use the occasion to make a swift exit.
Photography setup
Due to nocturnal lifestyle, photography of badgers is specific in terms of settings. Lack of light is an obvious challenge for our camera. Of course, this leads to entering high ISO values and limits your time on set. Darkness will also be a problem for your auto-focus system. The bright lens turns out to be invaluable, but comes with a price-tag not everyone can afford. Also, lush vegetation and badgers’ liking for building burrows in secluded places also work to your disadvantage. What you can do in such scenario then?
- Lens selection
Badgers are quite massive mammals so depending on your photography style you can choose different focal lengths suiting your taste best. Wider angle will provide you with more of an environmental type of shot and might be great if your sett is located in a more open area and light is not as limiting. Zoom lens like 70-200mm might be a great choice. In the forest’s setting longer focaI lengths are preferred. We are currently using 200-600/F5.6-6.3 but if we could choose any other lens possible best suited would be 400/F2.8 both in terms of range needed, as well as aperture value.
- Aperture/shutter speed/ISO
For us, semi-manual setting with automatic ISO seems to be most convenient. Choose lowest aperture value allowed by your lens and check ISO values selected by your camera. The only way to work around ISO (expect to see values ranging between 12800 or higher and histogram showing your picture to be underexposed by couple EV) is to go down with shutter speed. At 600mm with F6.3 we could get away with reasonably sharp photos with shutter speed set at 1/30 or 1/50s while handholding. Always keep your sensor and lens stabilization ‘on’.
- Autofocus
Expect your autofocus system to hunt a lot. Manual override might be useful. Otherwise use your preferred AF mode, be it spot, wide or zone. As we are mirrorless shooters we always shoot in continuous AF. To increase probability of getting sharp shot, we use electronic shutter in silent mode and long bursts. Here, statistics play to your advantage. Out of hundreds of frames, perhaps one or two will be acceptable.
- Other gear
At this point we don’t use hides because we prefer mobility and slight adjustments to the view point, but this is of course possible and recommended if you have your sett located in place where this can be deployed without disturbance
Tripod is another gear that may be useful to offer stabilization, but from our experience was just another element to carry and we wanted to be as light as possible. If we were to select the alternative, groundpod sounds better as it offers lower perspective and is significantly smaller and easier to maneuver with while on location.
Flash photography is also something we didn’t practice with badgers mainly because we don’t want to disturb or upset them in anyway, and also prefer even lighting conditions rather than spot lighting offered by flash. Bear in mind your first flash may be the last one…
Thank you for reading. Hope you liked it.
Wanda and Michał